Managing Findings
Findings are the core documentation unit in RTF. Every time you discover something during an engagement — a vulnerability, a successful technique, an interesting observation — you record it as a finding.
Findings are directly linked to MITRE ATT&CK or ATLAS techniques, so your documentation and your navigator always stay in sync.
What Is a Finding?
A finding represents one documented result from testing a technique. It can be:
- A successful exploitation (e.g., "Gained initial access via phishing — T1566.001")
- An observation (e.g., "SMB signing disabled on 14 hosts — T1557.001")
- A partial result (e.g., "Password spray partially successful — T1110.003")
- A completed test (e.g., "Tested all external-facing ports — T1595.001")
Creating a Finding
-
Go to Findings in the left sidebar
-
Click Add Finding
-
Fill in the details:
Field Required Description Title Yes Short name for this finding MITRE Path Yes The technique this finding maps to (e.g., Reconnaissance → Active Scanning → Scanning IP Blocks) Attack Profile Yes MITRE ATT&CK or MITRE ATLAS Status Yes In Progress or Completed Description No Full details of what you found and how Screenshot No Attach an image or screenshot as evidence Subprofile No Assign to a specific subprofile -
Click Save Finding
You can drag and drop an image directly onto the finding form, or use the file picker. Screenshots are stored securely and attached to the finding permanently.
Selecting the MITRE Path
The MITRE path is a hierarchical selector:
- First select the Tactic (e.g., Reconnaissance)
- Then the Technique (e.g., Active Scanning)
- Then the Sub-technique if applicable (e.g., Scanning IP Blocks)
The path becomes the canonical link between your finding and the navigator.
Finding Status and Navigator Sync

This is one of RTF's most powerful features — findings and the navigator are automatically kept in sync:
| Action | Navigator Effect |
|---|---|
| Create finding (In Progress) | Technique → In Progress |
| Mark finding as Completed | Technique → Completed; Tactic → Completed (if all done) |
| Delete a Completed finding | Technique reverts to In Progress (only if no other completed findings for same path) |
You never have to manually update the navigator when you're managing findings properly.
Updating a Finding
To update an existing finding:
- Click on the finding from the list
- Edit any field — title, description, status, screenshot
- Changes save automatically or click Update
Changing the status from In Progress to Completed will trigger the navigator sync.
Attaching Evidence (Screenshots)
Screenshots and images are a key part of every finding. To attach a screenshot:
- In the finding form, click the Attach Screenshot area
- Drag and drop an image, or click to browse
- Supported formats: PNG, JPG, JPEG, GIF, WEBP
- The file uploads to secure cloud storage and is permanently linked to the finding
Once attached, the screenshot appears inline when viewing the finding.
Each finding supports one screenshot attachment. For multiple screenshots, add them to the Description field as URLs or create multiple findings.
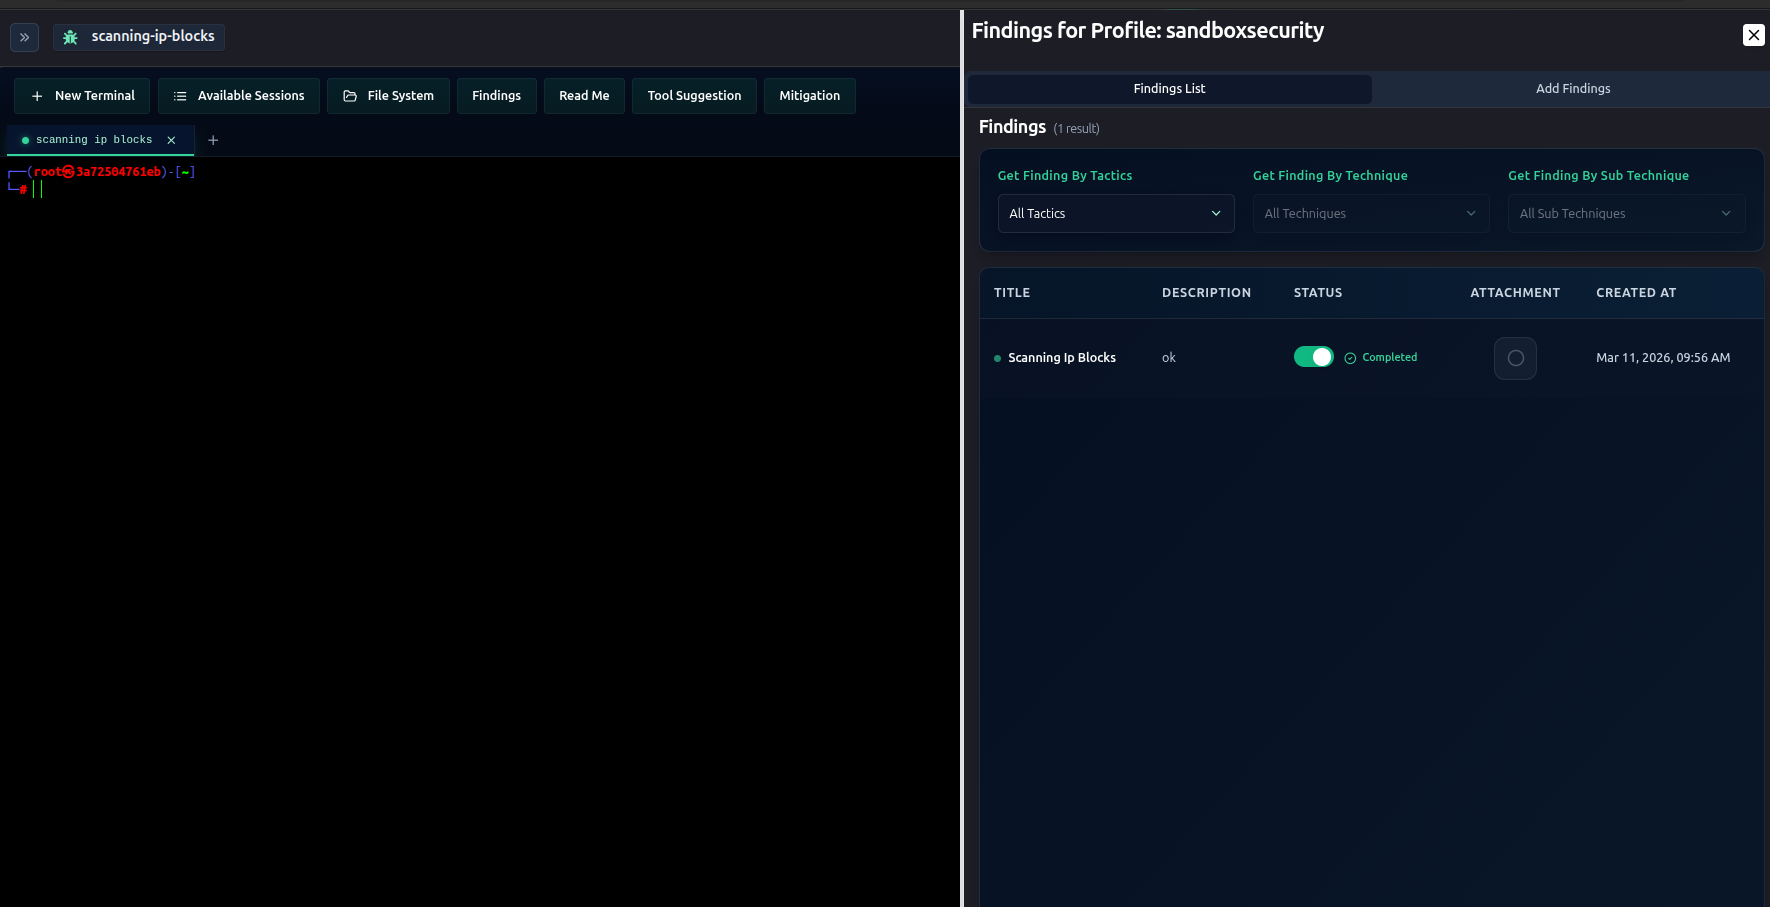
Filtering and Searching Findings
Use the filters at the top of the Findings list to narrow down:
- By status — show only In Progress or Completed findings
- By tactic — filter to a specific MITRE tactic
- By subprofile — show only findings from a specific subprofile
- By search — keyword search across titles and descriptions
Deleting a Finding
Deleting a completed finding may revert the related technique's status in the navigator if that finding was the only completed finding for that technique path.
To delete a finding:
- Click on the finding
- Click Delete
- Confirm
Findings in Reports
Your findings list forms the basis of your engagement report. Each finding includes:
- The technique it maps to (with ID and name)
- The tactic category
- Status
- Full description
- Screenshot evidence (if attached)
- Timestamps
Tips for Good Findings
- One finding per technique test — keep them focused
- Always write a description — even "No vulnerability found, SMB signing enabled" is useful
- Attach screenshots — evidence makes reports credible
- Set status correctly — In Progress means you're still working, Completed means done
- Use subprofiles when you have multiple target segments — it makes filtering much easier
Next Steps
- Analytics Dashboard → — see how findings feed into your metrics
- MITRE ATT&CK Navigator → — see the navigator update as you add findings
- C2 Infrastructure → — document the infrastructure behind your findings